Booster 15 was successfully launched on March 6, 2025 along with Starship 34 on Flight Test 8. Ship 34 experienced premature engine shutdowns spinning out of control.
Booster 15 returned to the launch site to be caught by the tower’s chopsticks, becoming the third booster to be recovered.
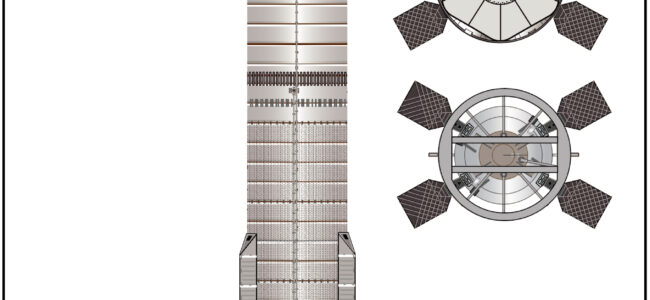
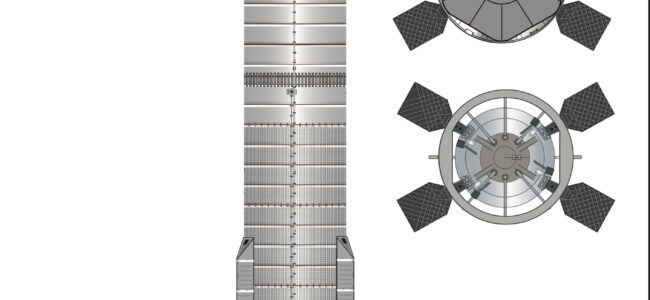
Changes on B15 model:
-Presence of reinforced horizontal bars above the booster’s upperdome.
1:100 scale model
Booster 14 was successfully launched on Jan 16, 2025 along with Starship 33 on the Integrated Flight Test 7 (IFT7). This was the inaugural flight of a Block 2 Ship.
Booster 14 successfully returned to the launch site where it was caught by the chopsticks , becoming the second booster recovered.
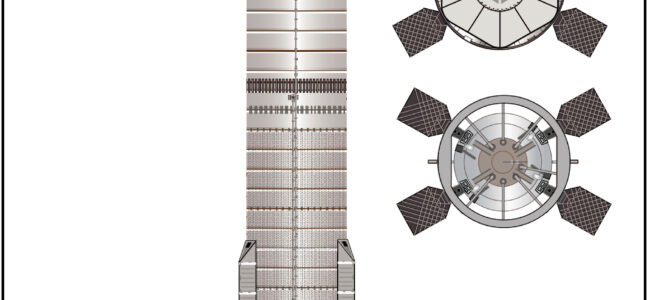
Changes on B14 model:
-Addition of a fifth Ch4 (methane) vent pipe on the upperdome section.
1:100 scale model
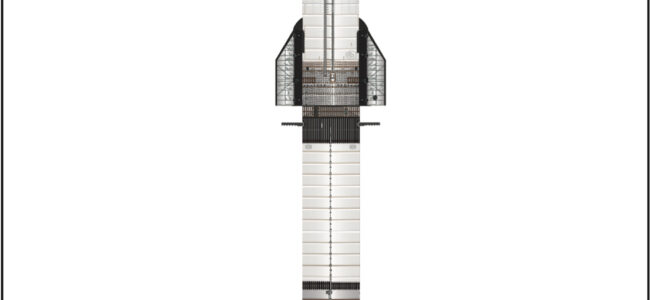
Here is the full S31-B13 stack during launch configuration showing all the frosted areas on both vehicles, based on a photo from photographer Max Evans from Nasaspaceflight.
This file contains only the skin parts for both vehicles. You need to replace these pages from the main pdf files for S31 and B13 models. Enjoy!
Booster 13 was successfully launched on Nov 19, 2024 along with Starship 31 on the Integrated Flight Test 6 (IFT6). Main objective for B13 was to be caught by the tower chopsticks for the second time, but the attempt to return to launch site was aborted and made an ocean splashdown instead.
Changes on B13 similar to B12 model:
-No COPVs in upper dome section
-Redesigned Starlink Terminals on chines covering COPVs (square dishes)
-Engine skirt shielding black edge removed
-Additional FTS enclosure on the umbilical side near the aft chines
-Reinforced stringers on booster top section
-Reinforced stringers on stabilizer pin sections
-Cowbells are smaller in size
Source: Ringwatchers.com